How to Restore a Pinball Machine at Home
Restoring a pinball machine can be an incredibly rewarding hobby, allowing you to breathe new life into a classic game while enhancing your skills in mechanics and electronics. Whether you’re a seasoned enthusiast or a beginner, this guide will walk you through the entire restoration process, ensuring you have all the information needed to successfully restore your pinball machine at home.

Understanding Your Pinball Machine
Before diving into restoration, it’s crucial to understand the components of your pinball machine:
- Playfield: The surface where the game is played, featuring ramps, targets, and other interactive elements.
- Backbox: The vertical section that houses the score displays and lighting.
- Cabinet: The main body of the machine that holds all components together.
Familiarizing yourself with these parts will make the restoration process smoother.
3. Tools and Materials Needed
Gathering the right tools and materials is essential for a successful restoration:
- Basic Tools:
- Screwdrivers (flathead and Phillips)
- Socket set
- Pliers
- Wire cutters/strippers
- Soldering iron (for electrical repairs)
- Cleaning Supplies:
- Isopropyl alcohol
- Soft cloths or microfiber towels
- Vacuum cleaner with brush attachment
- Cleaning solution (like Simple Green)
- Replacement Parts:
- Rubber rings and post sleeves
- Light bulbs (LEDs are recommended)
- Playfield decals or touch-up paint
- Safety Gear:
- Safety glasses
- Gloves
4. Step-by-Step Restoration Process
4.1 Preparing for Restoration
- Choose Your Pinball Machine: Select a machine that you want to restore. Ensure it’s complete and has minimal damage for an easier restoration process.
- Download the Owner’s Manual: If available, download the manual for your specific model; this will provide valuable information regarding assembly and electrical schematics.
- Assess Condition: Play the machine to identify any issues before starting the restoration.
4.2 Disassembly of the Playfield
- Remove the Glass: Open the coin door and carefully slide out the glass playfield cover; place it in a safe location.
- Take Photos: Document each step with photos as you disassemble parts; this will help during reassembly.
- Remove Components: Start by removing all components from the playfield, including:
- Ramps
- Targets
- Bumpers
4.3 Cleaning and Repairing Components
- Clean the Playfield: Use isopropyl alcohol and soft cloths to clean dirt and grime off the playfield.
- Inspect Parts: Check each component for wear or damage:
- Replace rubber rings if cracked or worn.
- Clean light bulbs or replace them with LEDs for better brightness.
- Repair Touch-Ups: Use touch-up paint or decals to fix any scratches or worn areas on the playfield.
4.4 Reassembly of the Playfield
- Reinstall Components: Begin reassembling by placing all components back onto the playfield in their original positions.
- Secure Connections: Ensure all electrical connections are secure; check for any loose wires.
- Waxing: Once everything is reassembled, wax the playfield using a suitable wax product to protect it from wear.
4.5 Backbox Restoration
- Remove Backglass: Carefully take out the backglass/translite; ensure it’s stored safely.
- Inspect Wiring: Check all wiring in the backbox for damage or corrosion; replace any faulty components.
- Clean Displays: Use a soft cloth to clean score displays and ensure they function properly.
5. Testing Your Restored Pinball Machine
After completing your restoration:
- Power On: Plug in your pinball machine and power it on.
- Run Diagnostics: Most machines have built-in diagnostic tests; run these to ensure everything functions correctly.
- Play Test: Play several games to check for any issues that may arise during gameplay.
6. Maintenance Tips for Longevity
To keep your restored pinball machine in great condition:
- Regularly clean the playfield and components.
- Replace worn-out rubber rings promptly.
- Store in a climate-controlled environment to prevent damage from humidity or temperature fluctuations.
- Keep an eye on electrical connections and replace any faulty components immediately.
Conclusion
Restoring a pinball machine at home can be an enjoyable project that not only enhances your skills but also allows you to appreciate these classic games even more deeply. By following this comprehensive guide, you’ll be well-equipped to tackle your restoration project successfully.Remember to document your journey—share your experiences on forums like Pinside.com or social media platforms dedicated to pinball enthusiasts! Happy restoring.
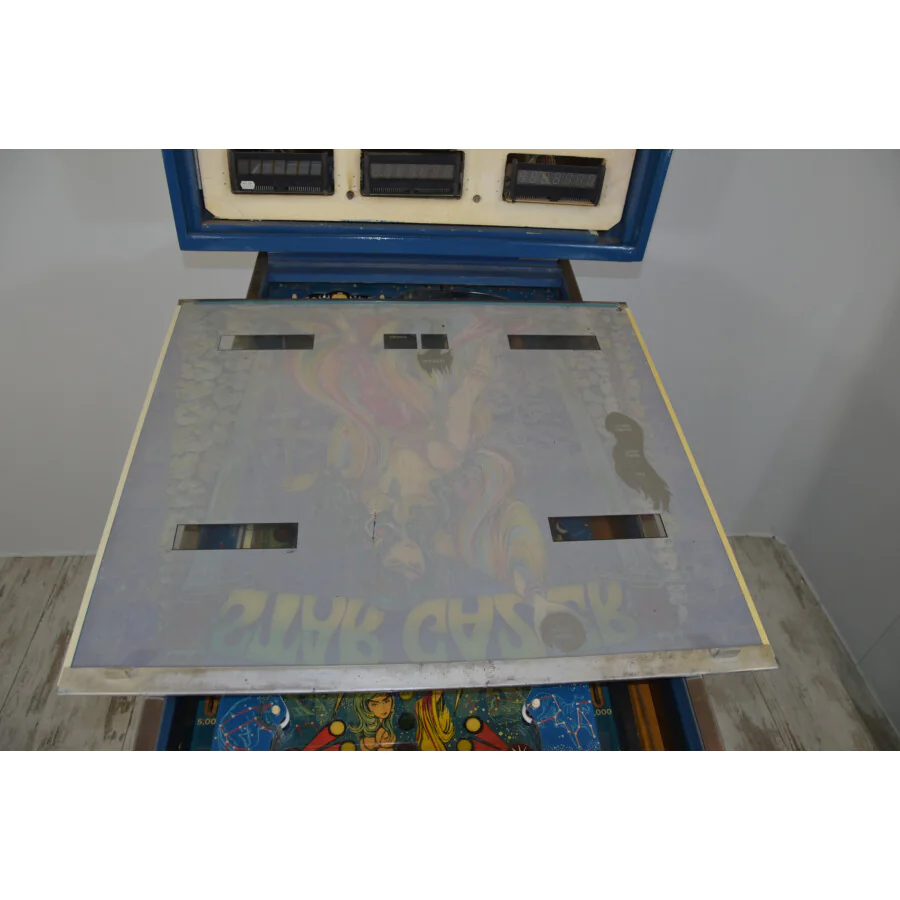
Pinball machine restoration process.
https://www.ipdb.org/machine.cgi?id=2457
The link above has detailed information opinbnall machines.